
 Jack o’ lanterns have been a Fall tradition for centuries! Did you know they originated from an Irish myth, and used to be carved out of turnips? For the history of jack o’ lanterns you can visit www.history.com. There are many different ways to carve a pumpkin! Here are some tips for carving the perfect jack o’ lantern this fall, after you have picked your beautiful Eckert’s pumpkin it’s time to begin!If you choose to paint your pumpkin, they will last longer, and any size will do!
- For carving, larger pumpkins are better.
- Try to avoid pumpkins with any mold or bruising. (They will go bad faster)
- If your pumpkin is dirty from being in the field, it is fine to wash it with warm soapy water.
- You normally begin carving a pumpkin by cutting off the top to create a lid. It is necessary to cut at a 45 degree angle so that the lid will have a place to rest once replaced. (If you make the cut straight down it will fall through)
- Another way of pumpkin carving is to cut a hole in the bottom. By making your cut at the bottom of the pumpkin it allows you to fix a leaning pumpkin, and also allows a flat surface for the candle to light your jack o’ lantern with (If you do it this way, be sure that there is a good amount of ventilation for your candle so that the inside of your pumpkin does not get scorched.)
- Once the hole is made into the pumpkin you can begin to scrape out the insides, be sure to keep the seeds -they make a tasty snack! To scrape out the pumpkin guts it is helpful to use a large spoon or ice cream scooper.
- Once the pumpkin is scraped clean, it is helpful to soak the pumpkin for an hour or two in bleach water (1teaspoon bleach/1 Gallon of water) This will help to make your freshly carved jack o’ lantern last longer, and to prolong shriveling, rub the interior of the pumpkin with petroleum jelly.
- Now it is time to get creative! It is always fun to create your own jack o’ lantern pattern, just draw on with a marker and begin carving! If you choose to print a pattern off of the Internet, or purchase one from a store it is now time to tape it to your pumpkin. (It is helpful to cut slit in the paper so that it bends to fit the rounded sides of the pumpkin.) Poke holes along the pattern lines so that they are easily seen and are ready to be carved along.
- A serrated knife or tools that are specifically designed for pumpkin carving are used to carve the face of your jack o’ lantern.
- When finished carving, it is time to light the candle. Teal lights are the perfect size to light the inside of a pumpkin, and any battery powered light may be used as well. -If you choose to use a candle to do the job, you can sprinkle ground nutmeg or cinnamon on the inside of the pumpkin walls and when heated up with the candle it will create a wonderful Fall aroma!
- Place your jack o’ lantern outside and watch it glow!
Pumpkin Seeds with Cinnamon & Salt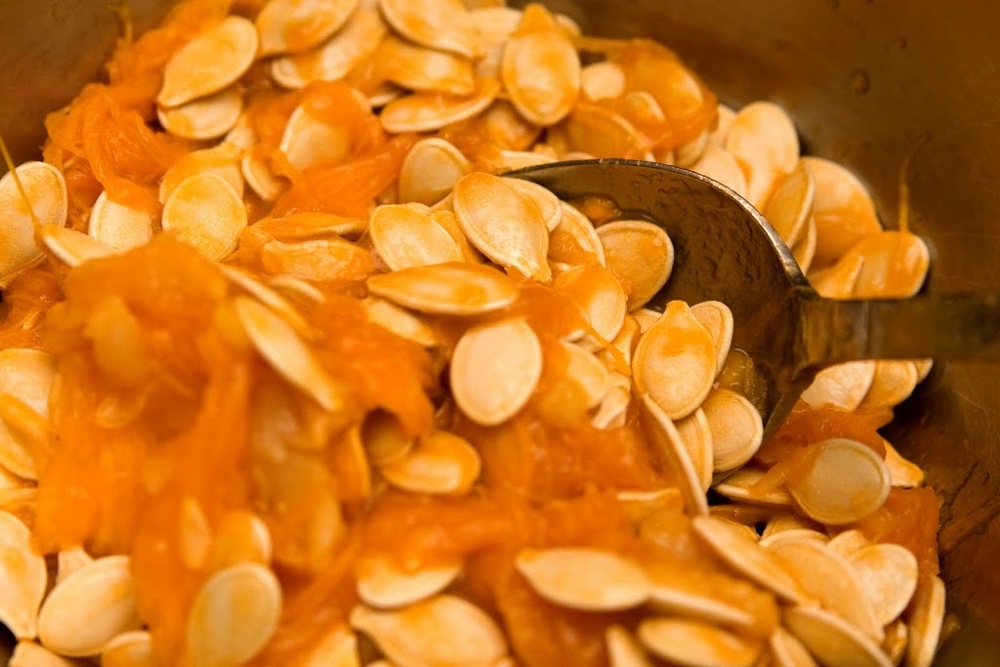
4 cups pumpkin seeds
1 tsp. salt
1/2 tsp ground cinnamon
vegetable oil cooking spray
Preheat oven to 350 degrees. Grease a cookie sheet and spread the seeds out in an even layer.
Lightly sprinkle with salt and cinnamon. Bake for about 5 minutes, then stir. Season with salt and cinnamon again continue baking stirring occasionally for about 20 minutes or until seeds are toasted.
Be the first to leave a comment!