
 I know what you’re thinking… everything you need for decorating your eggs is available in that little kit you buy at the store. While this may be true, there is also some great decorating tricks and tools available right in your own home. So in case you’ve forgotten to pick up your kit, or are just wanting to be more resourceful, this blog posting is for you.
First, you must prepare your eggs for the decorating process. This is most effectively done by hard-cooking your eggs. Follow these steps to ensure your eggs are cooked appropriately.
1. Place eggs in one layer in a saucepan and add water to at least an inch above the eggs. It is very important that the eggs are not stacked on top of one another, as heaping them increases the likelihood of cracking.
2. Cover the saucepan and heat just to boiling and then turn off and remove from heat. Eggs that are over-cooked are more susceptible to cracking and tend to form a harmless, but unattractive green ring around the egg’s yolk.
3. Keep the eggs in the covered saucepan for 15 minutes for large eggs (a few minutes less for smaller eggs, a few minutes more for larger eggs).
4. Place the eggs in ice water or run under cold water until the eggs are completely cooled.
One of my family’s tradition was to remove the contents of our eggs, so my mother could keep the eggs we decorated. It’s a bit gooey, but the kids think it’s fun and it is a nice keepsake even if they only stay in one piece through summer.
To empty out the eggs, simply do the following:
1. Insert a needle in the larger end of a raw egg. Carefully move the needle around until the hole is about a quarter inch across.
2. Then insert the needle in the opposite end of the egg. This hole does not need to be as large as the other one. Make sure the needle is inserted deep into the egg so that the yolk breaks.
3. Using your mouth, blow into the smaller hole so that the egg yolk and whites come out of the larger hole. Make sure to do this over a bowl to catch all the insides.
4. Once the egg is empty, run the eggshell under the faucet, shaking and rinsing it to make sure the inside of the egg is cleaned out.
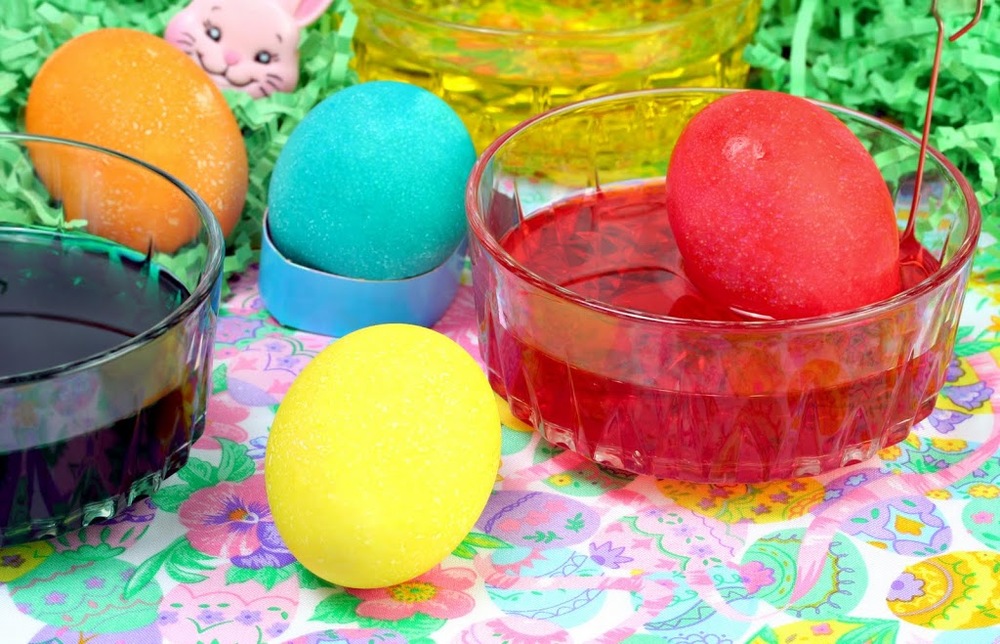
 Make-Your-Own Egg Dye
Combine 1/2 to 1 Tbsp. of food coloring with 2 tsp. of vinegar. Simply combine food coloring to create different colors. Remember, the longer the egg sits in the dye, the darker the color of the egg.
Egg Designs
The wax used to make crayons is actually resistant to dyes. Use a white crayon to decorate or write on undyed eggs. Once the eggs are dyed, the artwork or writing will show through on the dyed egg. This is a great way to write names on your eggs.
To create a striped effect on eggs, simply wrap rubber bands around the eggs before you dip them in the dye. Wait until dry and then remove the rubber bands. Simply use a small paint brush and food coloring or acrylic paint to color over the white stripes.
Take a household sponge and cut it into pieces. Dip the pieces into food coloring or acrylic paint. Apply the sponge to the egg’s surface for a spotty, spongy design.
A Twist on the Traditional Egg Hunt
An Eckert team member mentioned that her dad use to not only hide eggs, but also her Easter basket! I asked around and no one else had done this, but I thought what a fun twist. It’d be a great way to add an extra element, and could even it out if you have younger and older kids. Maybe only hide the older kids’ baskets to give the tots a head start!
Be the first to leave a comment!